6 Steps to Start Your Blog
A blog can be a very good medium to share your knowledge and insights with the world. If you are passionate about something, or there’s a subject that is close to your heart, it can be a good reason to start a blog. So, it can be anything such as technology, beauty and lifestyle, travel, DIY and hobbies, among others. We have many bloggers who post blogs on different subjects, and their blogs are read, liked and shared by thousands, if not lakhs of people across the world. IF you have always wanted to be a blogger, the right time is now, and we have covered for you the key steps you need to follow to start your very own blog. So, let’s get started.
So, you’re ready to start a blog of your own! What is the first step? Well, it is choosing a topic or domain you want to talk about. Some of us already “know” what it is, but for others, it can get a little confusing because of multiple passions and interests. So, it becomes extremely necessary that you decide on a topic that really interests you and something that you can continue with in the long run.
Step 2: Create a Domain for Your Blog
So, you have your topic ready. What next? The next step is to register for a domain for your blog. Think of a blog domain name that best captures your outlook towards the topic. This domain name will be the URL of your blog, so you need to choose carefully. It should be something that’s unique and catchy, yet should ideally be able to allow the readers to get an idea of what your blog is about.
For example, an adventure blogger might choose a domain name like ‘on the adventure trail’ or a travel blogger can go for something like ‘on wings around the world’.
Step 3: Hosting Your Blog
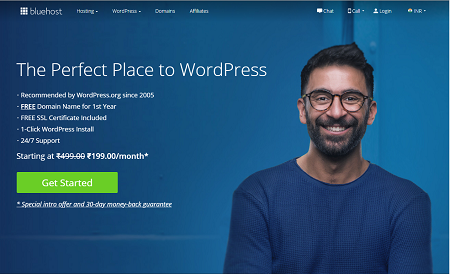
Congrats! You have already zeroed in on a domain name that makes you happy and have claimed it as your own. What next? Hosting your blog on the web is what comes next, and for that you need to visit a web-hosting site like Bluehost or Hostinger.

Having said that, WordPress is the most preferred hosting site for bloggers. If you’re looking for free hosting and free themes and plug-ins, visit https://wordpress.com. The site offers excellent speed and boosts site performance. It also ensures a good uptime, along with advanced security features. What’s more, there’s a dedicated support team at WordPress whose job is to provide you immediate assistance in case your WordPress site crashes or attacked.
Another reason bloggers prefer WordPress is that if offers unlimited options to customize the look and feel of your blog with access to thousands of themes and plugins.
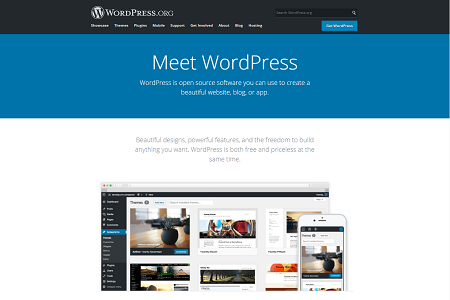
[UI of Wordpress.com]
Step 4: Get WordPress Installed
If you sign up with a web hosting company, like Bluehost, they will build the entire set up for you. Otherwise, you need to have WordPress installed on your system. Once you’ve done that, you need to login by entering your username and password on the login screen, as shown below.

[Login screen of Wordpress.com]
Step 5: Customize the Look and Feel of Your Blog
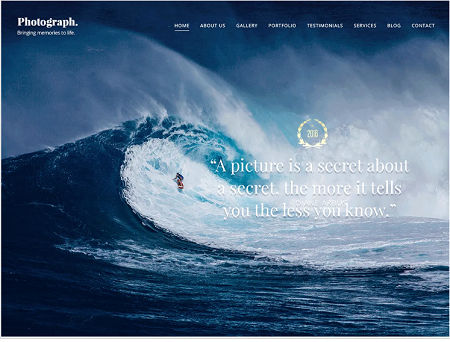
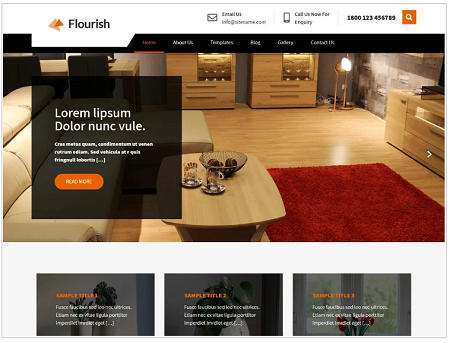
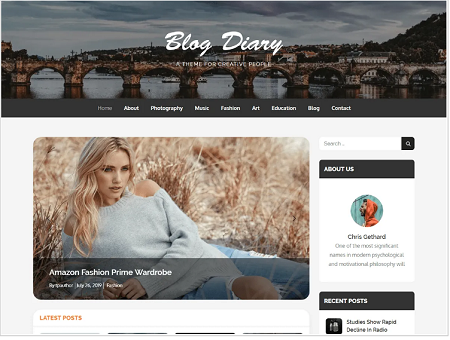
WordPress offers free as well as premium themes and plug-ins to customize the design of your blog. If you’re a first-time blogger, it is recommended that you go for a free theme as it allows the room for experimentation. Try out as many themes as you want before you find the “right” one. Here are some examples of free WordPress themes that really stand out.
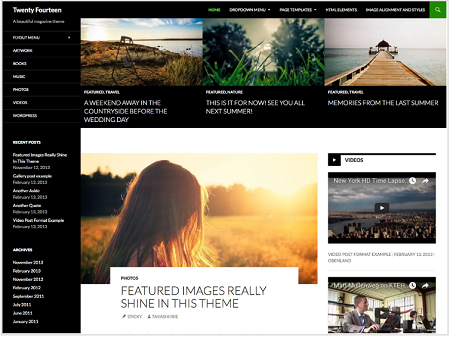
[WP Theme 1]
[WP Theme 2]
[WP Theme 3]
[WP Theme 4]
Step 6: Publish Your Content
Now that you are really happy with the look and feel of your blog, start posting your content. You can do so by visiting the WordPress Dashboard and clicking on the Pages icon, as shown below. Once you click on it, select the ‘Add Page’ option to publish your content on your blog.

[WP Dashboard screenshot]
Conclusion
So, you see that the process of publishing your first blog is not that complex if you know the steps to proceed with. So, what are you waiting for? Go ahead and publish your first blog post and set off on a journey of creative adventure, as you witness your blog grow, with more and more users sharing their love for your content. All the Best!
Write a comment
Subscribe To Our Newsletter
Join our mailing list to receive the latest blogs and updates.