An Introduction to Downloading Android Studio

Android Studio is an IDE that is based on the JetBrains IntelliJ IDEA. It offers Android developers a unique platform to develop and debug Android apps with the use of different developer tools. It offers a range of features, including live layout, template-based wizards and Gradle build support, among others, which makes it the preferred platform for developers of Android apps to work on.
So, let’s begin with the basic installation and configuration of Android Studio.
To begin with, the Android Studio package can be downloaded from the Android developer tools web page, at http://developer.android.com/sdk/index.html, by clicking on the download button, as is shown in the screenshot below.
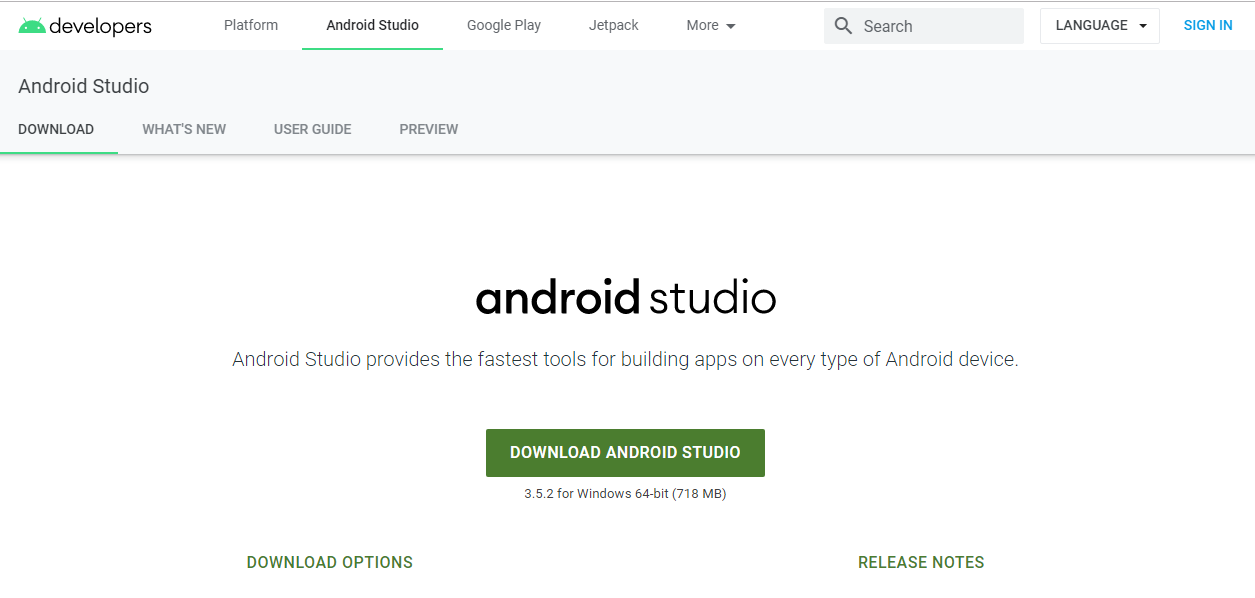
The Android Studio is downloaded as an EXE file for Windows systems, as a DMG file for Mac OS X systems, and as a TGZ file for Linux systems.
Android Studio Installation
For installing Android Studio in Windows, launch the EXE file. The default installation directory is as given below:
\Users\<your_user_name>\AppData\Local\Android\android-studio.
/Applications/Android\ Studio.app
For installing Android Studio in Linux systems, start with unzipping the TGZ file and then executing the studio.sh script which is located in the android-studio/bin/ directory.
Running Android Studio for the first time
When running Android Studio for the first time, execute Android Studio and wait until it loads completely. This may take a few minutes for the first time. The first time you execute it, you will see a welcome screen which includes a section to open recent projects and the Quick Start section. The QuickStart section provides options to start a new project, open a project, import a project, and even perform more advanced actions such as checking out from a version control system and modifying the configuration options.
Now, let's look at the many options available in the QuickStart section:
a) Start a new Android Studio project: This option is used to create a new Android project from scratch.
b) Open an existing Android Studio Project: This option is used to open an existing project.
c) Import an Android code sample: This option is used to import a project containing Google code samples from GitHub.
d) Check out the project from Version Control: This option is used to create a new project by importing existing sources from a version control system.
e) Import Non-Android Studio project: This option is used to create a new project by importing existing sources from your system.
f) Configure: This option is used to open the configuration menu, which has the following options:
h) Settings: This option is used to open the template project's settings, which can also be accessed through the Android Studio settings (by navigating to Configure | Settings).
i) Project Structure: This option is used to open the project and platform settings.
j) Run Configurations: This option is used to open the Run and Debug settings.
k) Docs and How-Tos: This option is used to open the Help menu, which again has the following options:
So, that was a quick walkthrough on installing Android Studio. There is always more information available should you need guidance with issues during installation. Have you tried installing it yet? Let us know your experience in the comment box below.
So, let’s begin with the basic installation and configuration of Android Studio.
To begin with, the Android Studio package can be downloaded from the Android developer tools web page, at http://developer.android.com/sdk/index.html, by clicking on the download button, as is shown in the screenshot below.
The Android Studio is downloaded as an EXE file for Windows systems, as a DMG file for Mac OS X systems, and as a TGZ file for Linux systems.
Android Studio Installation
For installing Android Studio in Windows, launch the EXE file. The default installation directory is as given below:
\Users\<your_user_name>\AppData\Local\Android\android-studio.
The directory for AppData is usually hidden.
For installing Android Studio in Mac OS X, start with opening the DMG file and then dropping Android Studio into your Applications folder. The default installation directory is as given below/Applications/Android\ Studio.app
For installing Android Studio in Linux systems, start with unzipping the TGZ file and then executing the studio.sh script which is located in the android-studio/bin/ directory.
Running Android Studio for the first time
When running Android Studio for the first time, execute Android Studio and wait until it loads completely. This may take a few minutes for the first time. The first time you execute it, you will see a welcome screen which includes a section to open recent projects and the Quick Start section. The QuickStart section provides options to start a new project, open a project, import a project, and even perform more advanced actions such as checking out from a version control system and modifying the configuration options.
Now, let's look at the many options available in the QuickStart section:
a) Start a new Android Studio project: This option is used to create a new Android project from scratch.
b) Open an existing Android Studio Project: This option is used to open an existing project.
c) Import an Android code sample: This option is used to import a project containing Google code samples from GitHub.
d) Check out the project from Version Control: This option is used to create a new project by importing existing sources from a version control system.
e) Import Non-Android Studio project: This option is used to create a new project by importing existing sources from your system.
f) Configure: This option is used to open the configuration menu, which has the following options:
- SDK Manager: This option is used to open the Android SDK tool
- Settings: This option is used to open the Android Studio preferences.
- Plugins: This option is used to open the plugins manager for Android Studio.
- Import Settings: This option is used to import the settings from a file (.jar).
- Export Settings: This option is used to export the settings to a file (.jar).
h) Settings: This option is used to open the template project's settings, which can also be accessed through the Android Studio settings (by navigating to Configure | Settings).
i) Project Structure: This option is used to open the project and platform settings.
j) Run Configurations: This option is used to open the Run and Debug settings.
k) Docs and How-Tos: This option is used to open the Help menu, which again has the following options:
- Read Help: This option is used to open the online version of the Android Studio Help.
- Tips of the Day: This option is used to open a dialog with the ‘Tip of the Day’.
- Default Keymap Reference: This option is used to open an online PDF file that contains the default keymap.
- JetBrains TV: This option is used to open a JetBrains website which contains video tutorials.
- Plugin Development: This option is used to open a JetBrains website which contains information for plugin developers
So, that was a quick walkthrough on installing Android Studio. There is always more information available should you need guidance with issues during installation. Have you tried installing it yet? Let us know your experience in the comment box below.
Write a comment
Subscribe To Our Newsletter
Join our mailing list to receive the latest blogs and updates.