How to Maintain Requirements in the QARA for Jira Add-on

Requirements are key to successful software development and testing. Once you have the requirements in place, it gives a good start to the testing process. Today you have advanced test management platforms for complete test management. However, a large number of QA teams still use Jira for test management. Since Jira was never designed to be used as a test management tool, it has its share of limitations. The solution is a Jira add on that integrates Jira with a comprehensive test management tool.

QARA Test Management for Jira is an example of a Jira add on that has been developed for this purpose. The add-on enhances the test management capabilities of Jira and makes it easy for QA teams to access Jira within the interface of the QARA Enterprise Jira test management tool. The Atlassian Marketplace has the Jira add on available for download. Here we shall learn about how QA teams can manage requirements with QARAJ add-on which integrates Jira with the QARA Enterprise Jira test management tool.
Requirements in QARAJ is maintained under the Work Items module. The requirements cover Epics, Stories and Tasks.
When we click on the Work Items module, there is a Create Folder icon that appears, which can be used to create a folder. Once you click on the Create Folder icon, you need to enter the name and description to create a new folder and then click on the Save icon at the top right corner of the screen.
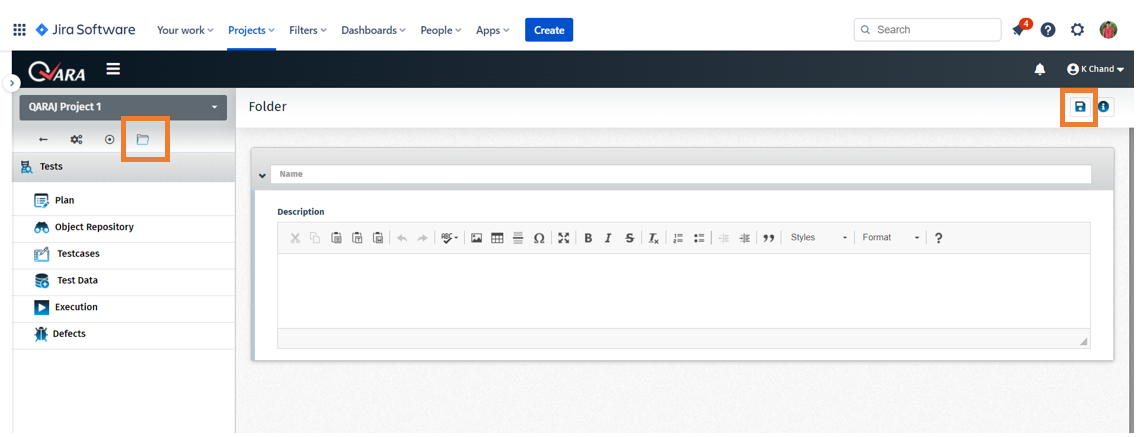
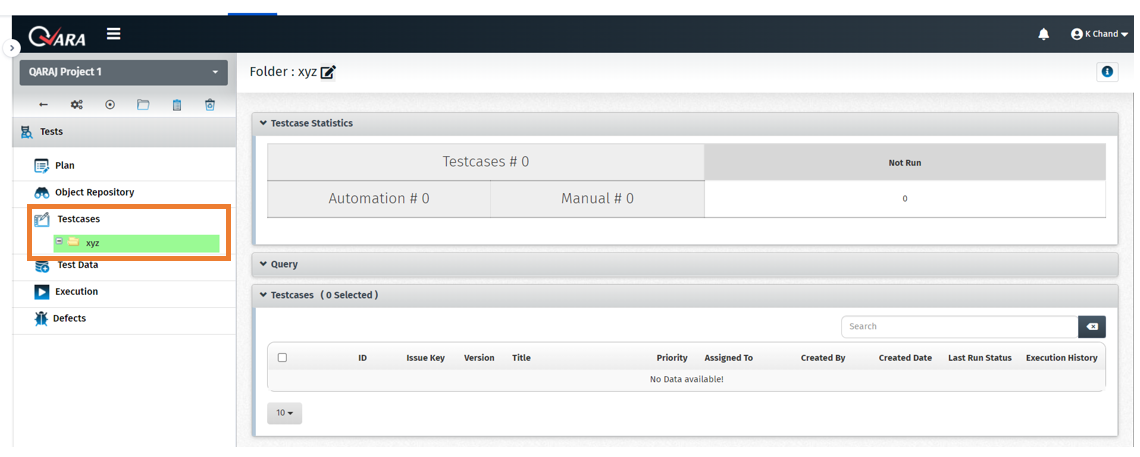
**Note: Once we create a folder, it will navigate to the Testcases module because the folder structure is being maintained under the Testcases module.
Once we navigate to the Work Items module, we can see the newly created folder in the left panel.
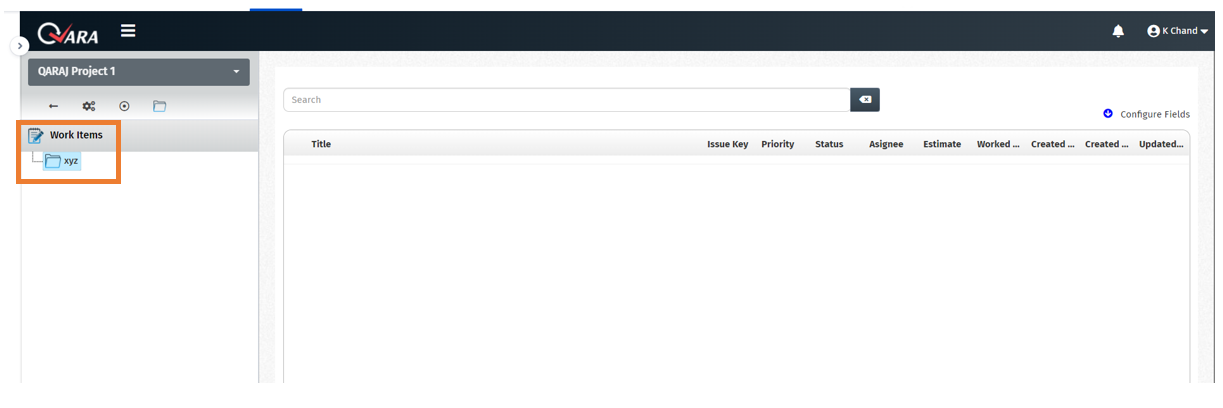
**Note: We can create multiple folders within Work Items as well as multiple child folders under one or more parent folders.
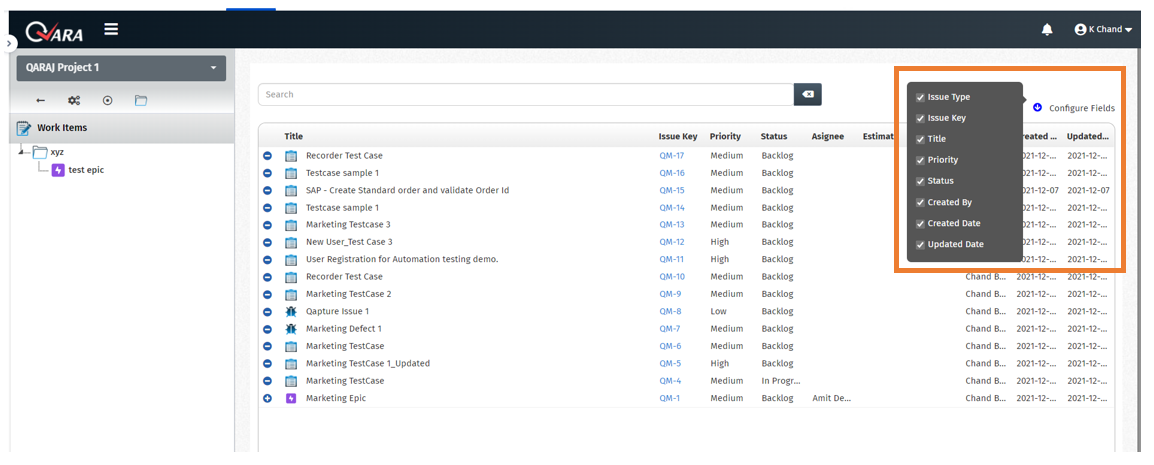
You can configure the columns in the grid by clicking on Configure Fields and a list of columns appear, from which you may select or deselect the columns you need.
Editing the Requirements
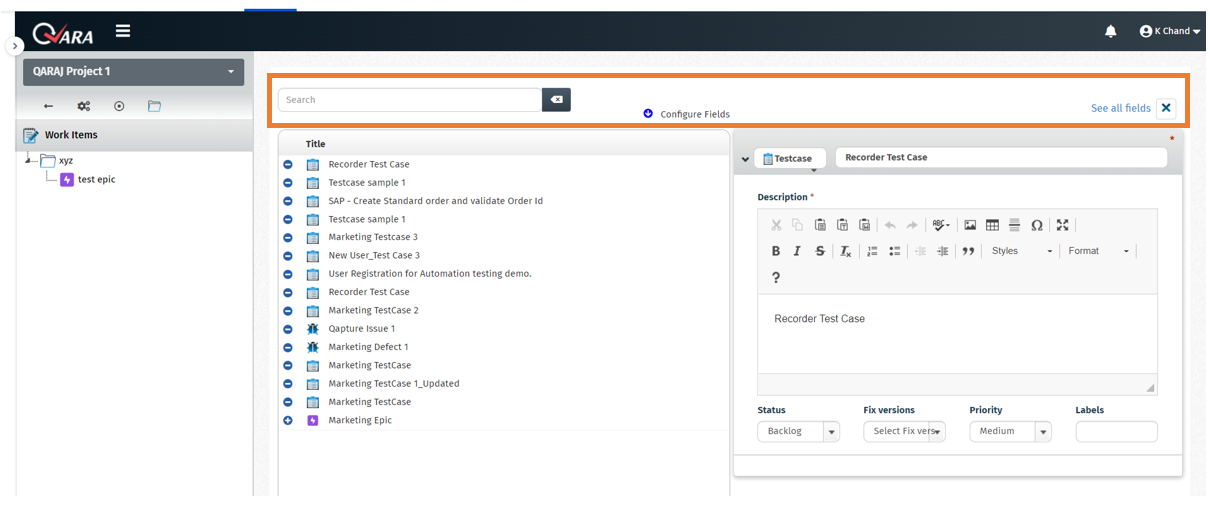
To edit a requirement on the grid, you need to click on the Issue Key link of the respective requirement.

When you click on the Issue Link a panel opens up on the right where you can edit the requirement details. Clicking on the See all Fields link allows you to view the entire page. Also, the Search field allows you to search for Epics, Stories and Tasks.
Adding Requirements to a Folder
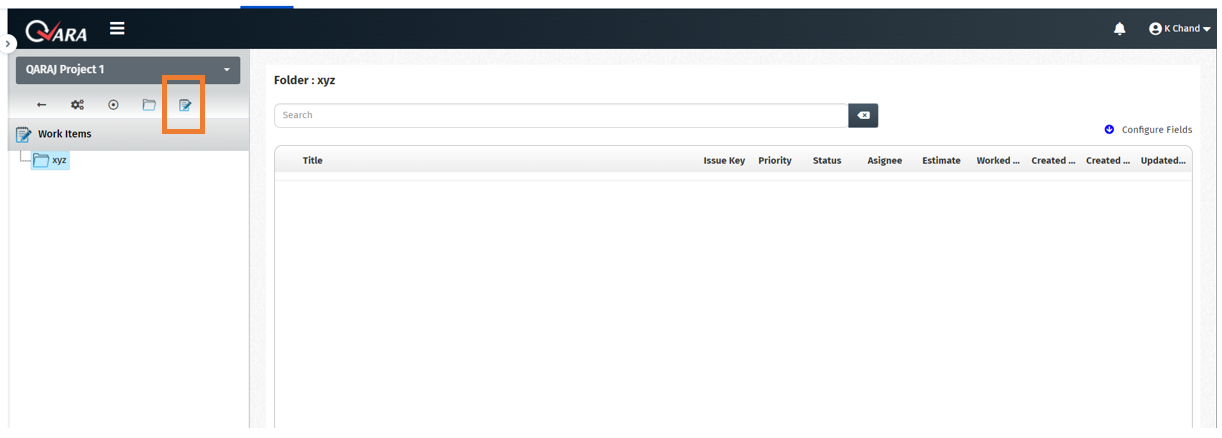
Once we click on the created folder on the left panel, the Add Requirement icon appears, whereby we can add requirements to any folder. QARAJ integrates Jira with a Jira test management tool for the convenience of the QA team.
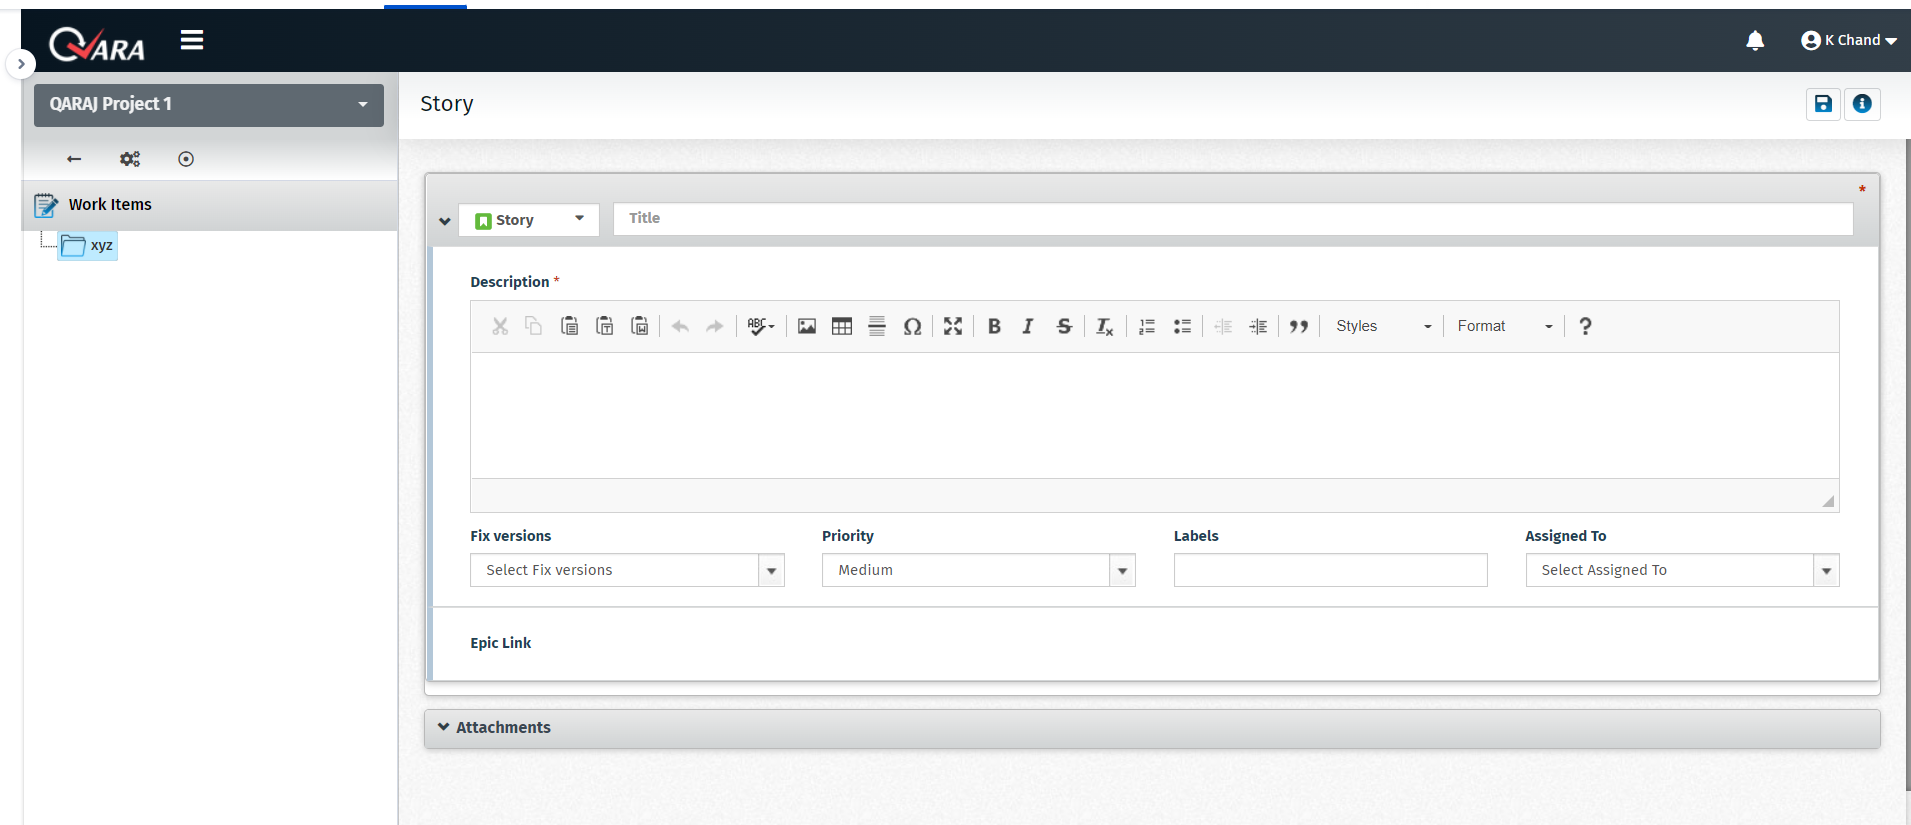
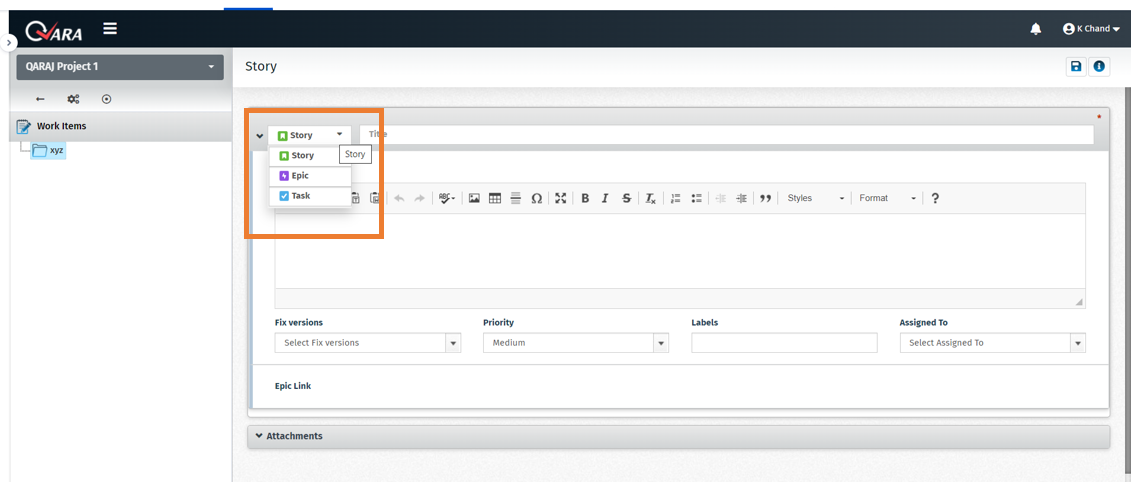
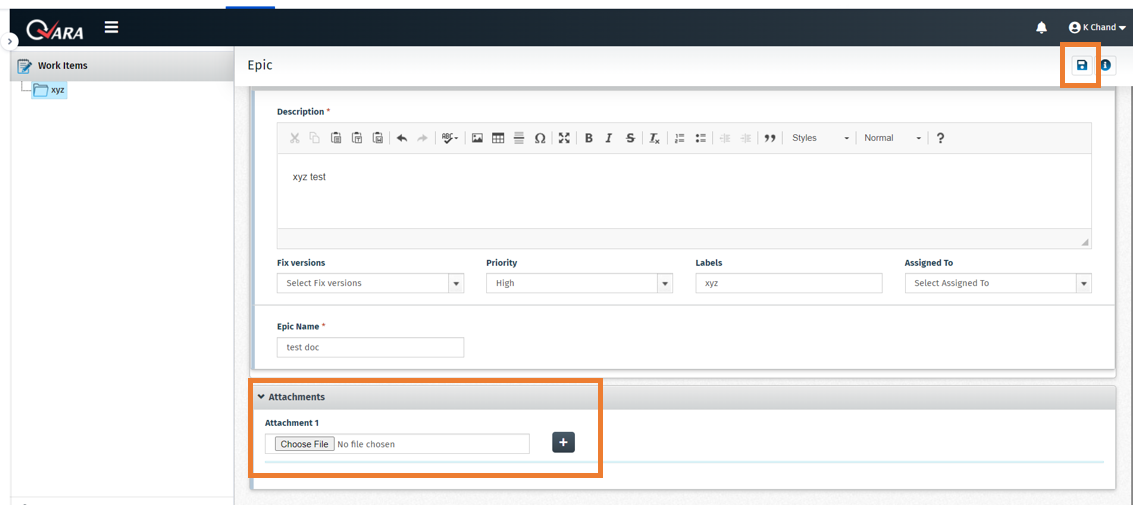
When we click on the Add Requirements icon, the following screen appears, where the default requirement type is Story, but we can create an Epic, Story or Task. Let’s select Epic.
Fill the details and click on the Attachments tab to attach files if required. Then click on the Save icon.
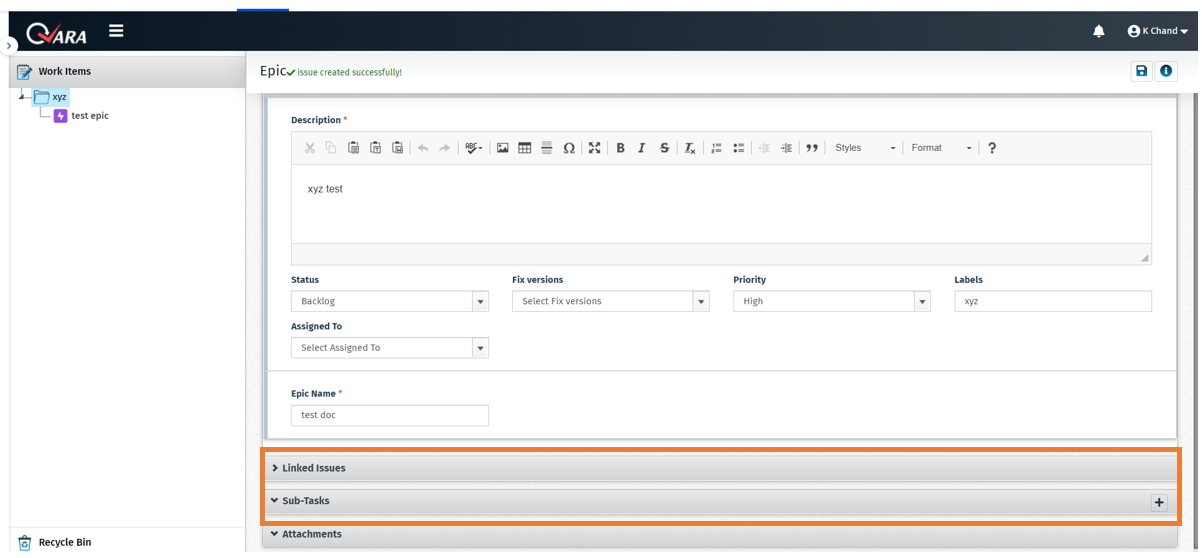
Once you have clicked on the Save button, 2 more tabs appear, which are Linked Issues and Sub Tasks.
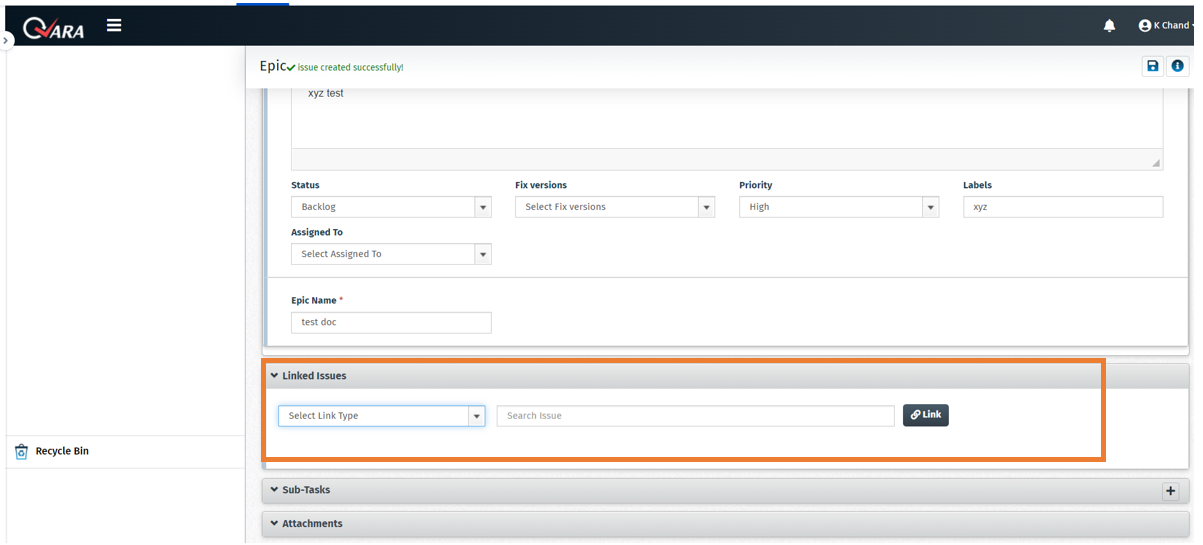
Linked Issues: Under this section, we can link the existing issues, including, tasks, stories, epics and bugs. We need to select the Link Type from the drop-down menu and then search for the issue using the Jira Issue Key (generated when we create an issue type) and then click on the Link button to link the issue to the current epic.
**Note:
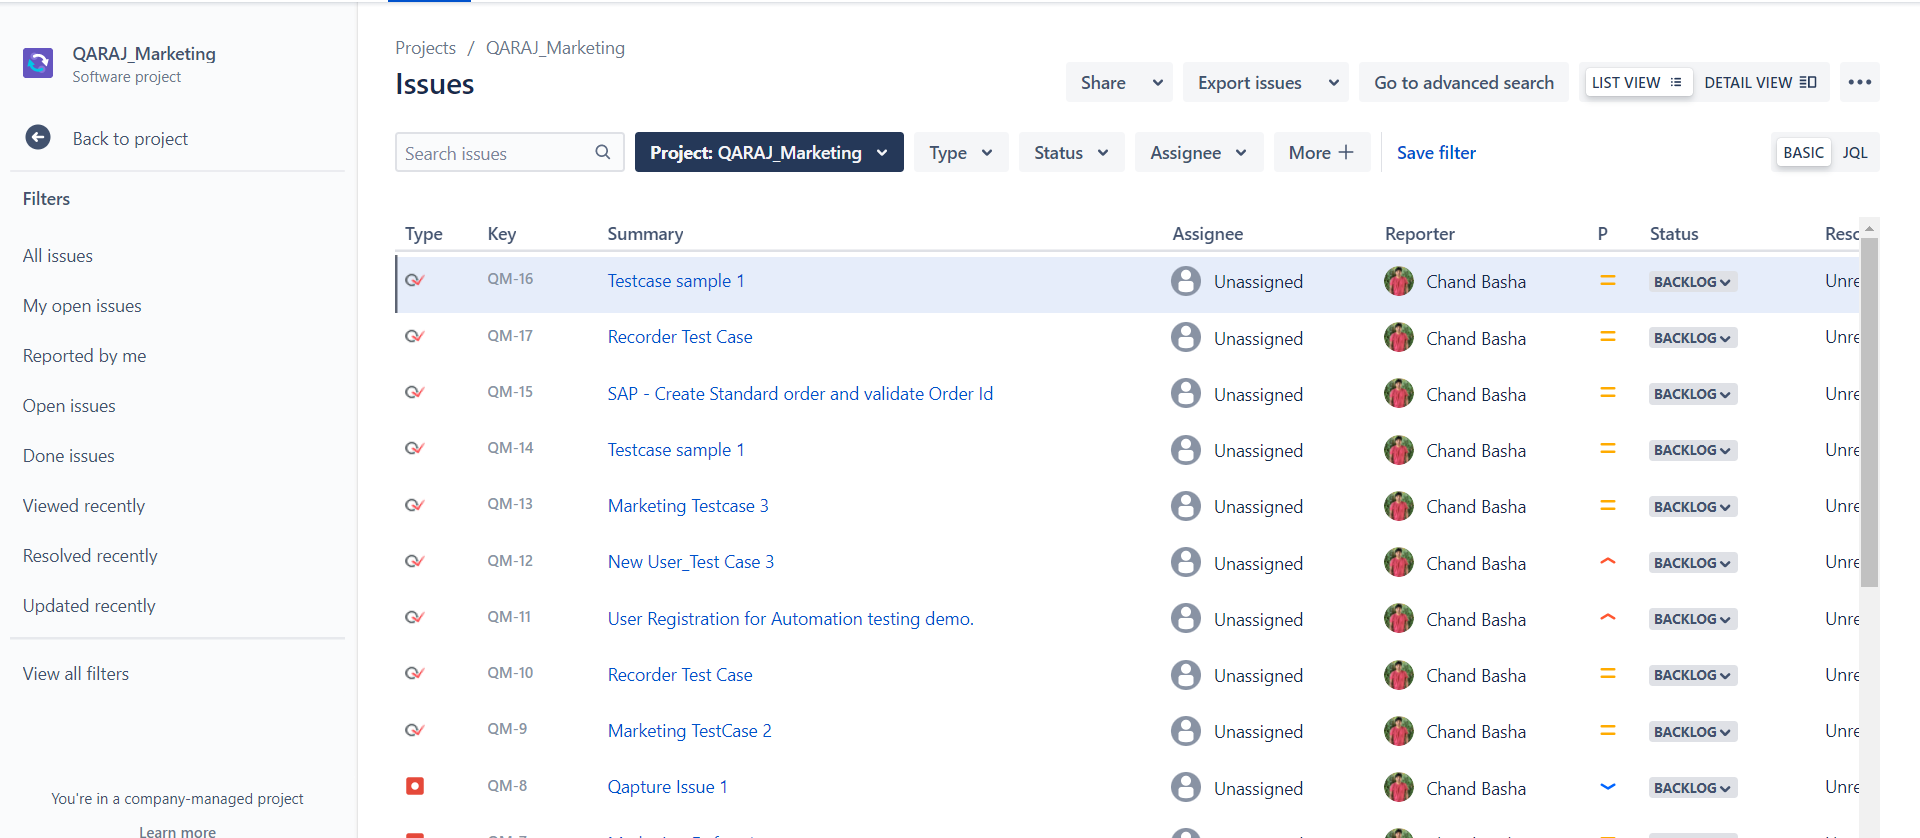
- The details in under the drop-down menus are populated from Jira.
- All the Issue Types created in QARAJ are also displayed in the Jira Controls
QARAJ is part of the QARA Enterprise Suite, a Jira test management tool which includes several products, each of which has a different functionality associated the QA of software products and applications. It offers the multiple benefits that a Jira test management tool has to offer when it comes to effective test management.
Write a comment
Subscribe To Our Newsletter
Join our mailing list to receive the latest blogs and updates.